

This tutorial will guide you through the steps to create and train the LSTM_SIMPLE [1] based Recurrent Char-RNN as described by [2] and inspired by adepierre [3]. The LSTM_SIMPLE layer implements the recurrent learning without the use of an Unrolled Net and is therefore about 30% faster than the Caffe-based LSTM layer, albeit not as accurate. For fastest speeds, we highly recommend using the cuDNN LSTM layer instead of the LSTM_SIMPLE or Caffe-based LSTM layer. For more information on the cuDNN LSTM layer, please see the ‘Create and Train an LSTM based Recurrent Model on Shakespeare‘ tutorial.
Step 1 – Create the Project
In the first step we need to create the project that contains the DataGeneral gym, which is then uses the streaming database to feed the Shakespeare training data to the network. The project will also use the Char-RNN model and SGD solver.
To do this, first select the Add Project (![]() ) button at the bottom of the Solutions window, which will display the New Project dialog.
) button at the bottom of the Solutions window, which will display the New Project dialog.
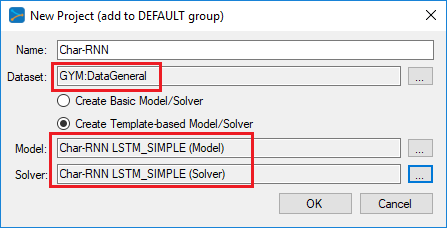
NOTE: using the cuDNN based LSTM model is the recommended model for LSTM based projects. See the LSTM tutorial for more information on creating the cuDNN LSTM model.
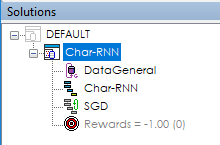
Upon selecting OK on the New Project dialog, the new Char-RNN project will be displayed in the Solutions window.
Step 2 – Review The Model
Now that you have created the project, lets open up the model to see how it is organized. To review the model, double click on the Char-RNN model within the new Char-RNN project, which will open up the Model Editor window.
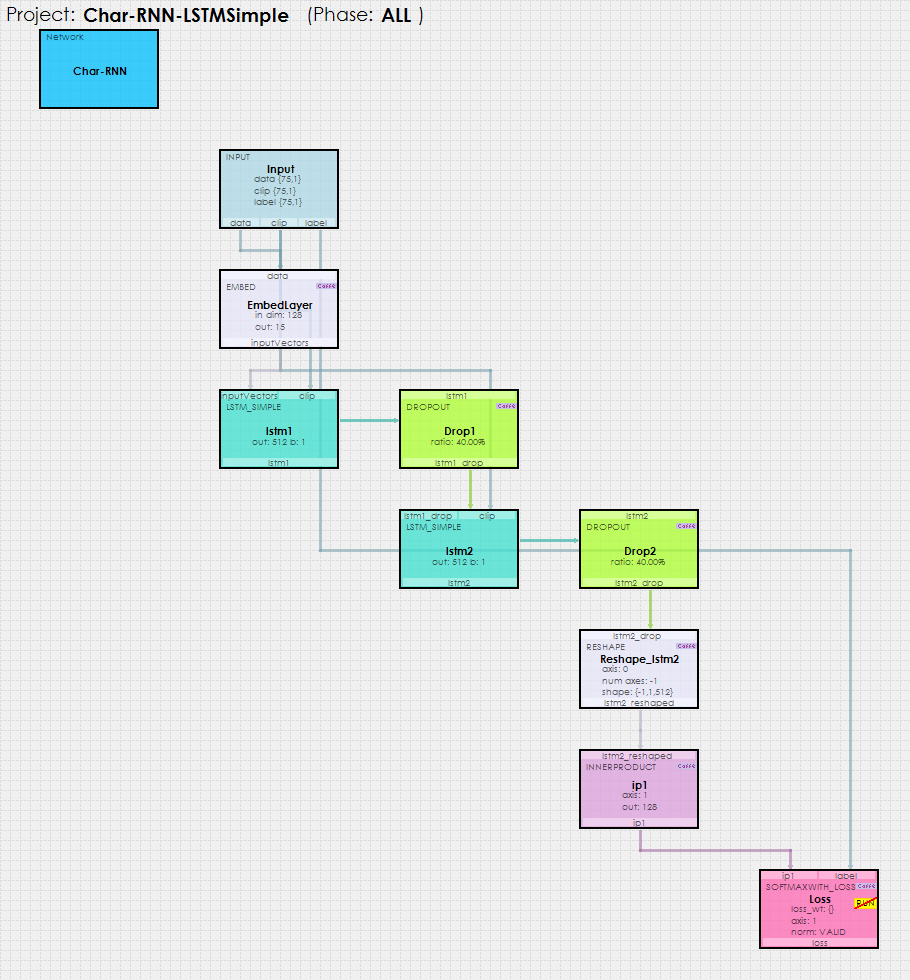
Note, the LSTM_SIMPLE based Char-RNN mode is very similar to the LSTM version, with the main differences being in the Input data sizes and the use of the LSTM_SIMPLE layers instead of the LSTM layers.
The Char-RNN model uses an Input layer whos blobs are then filled by the MyCaffeTrainerRNN with the data fed to it via the DataGeneral gym.
The input data is fed into an EMBED layer which is used to learn a 15 element output for each character value. The EMBED outputs are then fed into the first of two LSTM layers
At the end of the network an INNER_PRODUCT layer calculates the probabilities for the next character based on the sequence of input characters.
Step 2 – Training
The new MyCaffeTrainerRNN (which is used in a similar way to the MyCaffeTrainerRL) is used to train the model. This trainer takes care of querying the MyCaffe streaming database for data and feeding it into the INPUT layer of the Char-RNN model.
Solver Settings
The SGD solver is used to train the Char-RNN model with the following settings, which are already set in the project created above.
Learning Rate (base_lr) = 0.05
The MyCaffeTrainerRNN that trains the open MyCaffe project uses the following specific settings.
Trainer Type = RNN.SIMPLE; use the policy gradient trainer.
ConnectionCount = 1; specifies that we are only using one connection to the MyCaffe streaming database.
Connection0_CustomQueryName= StdTextFileQuery; specifies to use the standard text file query which returns the block of characters from each file.
Connection0_CustomQueryParam=FilePath~C:\ProgramData\MyCaffe\test_data\data\char-rnn|; specifies the directory where the text files to load reside.
Training
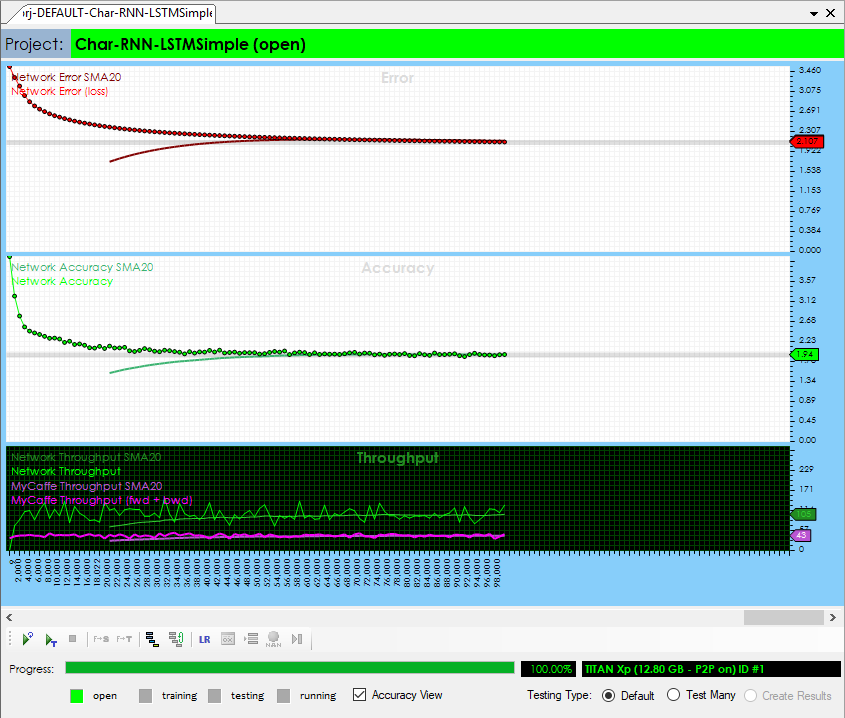
Now that you are all set up, you are ready to start training the model. Double click on the Char-RNN project to open its Project window. To start training, select the Run Training (![]() ) button in the bottom left corner of the Project window.
) button in the bottom left corner of the Project window.
Step 3 – Running The Model
Once trained, you are ready to run the model to create a Shakespeare like sonnet. To do this, select the Test Many testing type (radio button in the bottom right of the Project window) and press the Test (![]() ) button.
) button.
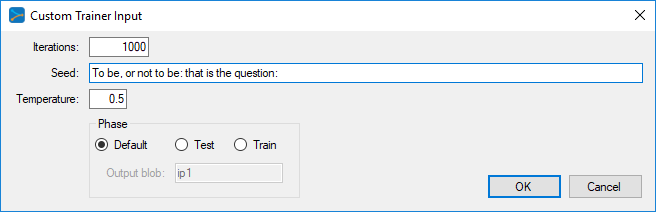
From the Custom Trainer Input dialog, enter the settings such as the number of Iterations (characters to output), Temperature and Seed to use. The Temperature is used to randomly select from characters that are close to the maximum probability, which has shown to produce better results.
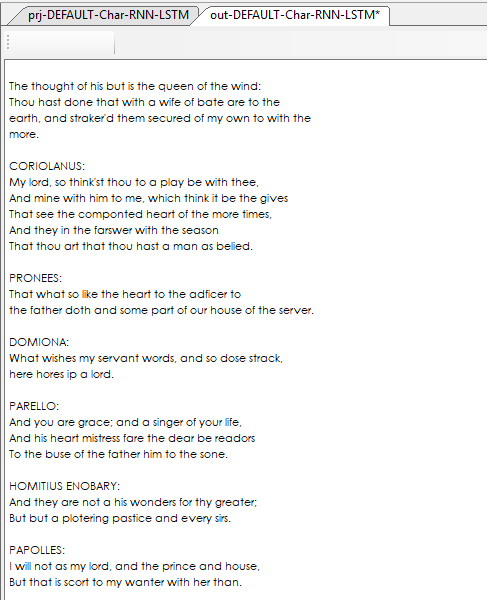
Once completed, the results are displayed in an output window.
Congratulations! You have now created your first Shakespeare sonnet using the SignalPop AI Designer and the LSTM_SIMPLE layer!
To see the SignalPop AI Designer in action with other models, see the Examples page.
[2] junhyukoh, (2016), junkyukoh/caffe-lstm Github, GitHub.com.
[2] Karpathy, A., (2015), The Unreasonable Effectiveness of Recurrent Neural Networks, Andrej Karpathy blog.
[3] adepierre, (2017), adepierre/caffe-char-rnn Github, GitHub.com.